
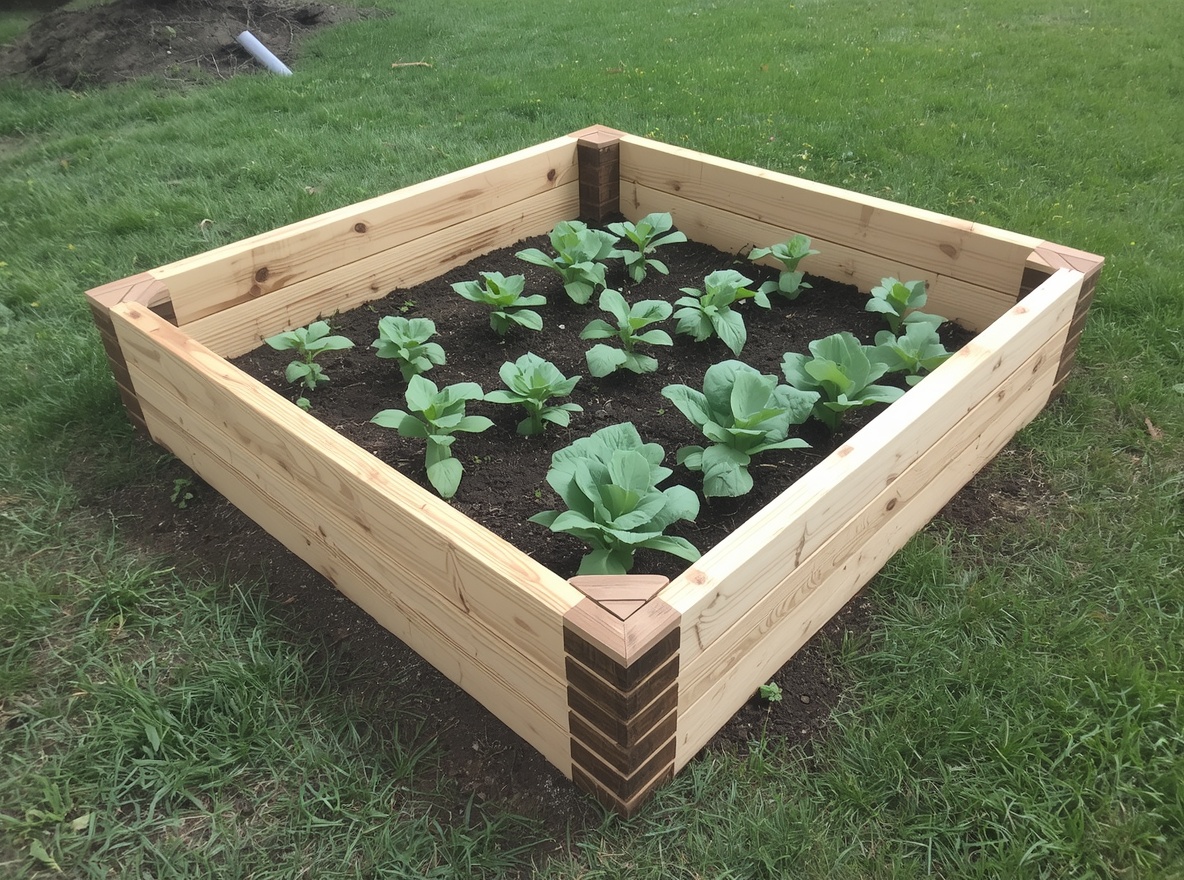
Raised beds look simple, and in a lot of ways they are. You build a box, fill it with soil and start planting.
But there are a few things worth knowing before you buy lumber or order a giant pile of soil, because the size, location and way you build the bed will affect how easy it is to use for years.
The good news is that you do not need a complicated setup. A basic raised bed can make gardening easier, improve drainage and give you more control over your soil, especially if the ground in your yard is compacted, rocky or just generally uncooperative.
If you are thinking about building your first one, this is what I would figure out before you start.
Start with the location, not the lumber
The best raised bed in the world will still be frustrating if it is sitting in the wrong spot.
If you plan to grow vegetables, aim for at least six to eight hours of direct sun each day. Watch the area for a full day before deciding, because a spot that looks sunny in the morning might be shaded by a fence or tree by early afternoon.
Also think about access. You will be much more likely to water, harvest and keep up with the bed if it is somewhere you naturally pass instead of tucked into the farthest corner of the yard.
Do not make the bed too wide
One of the most common beginner mistakes is building a bed so wide that you have to climb into it to reach the middle.
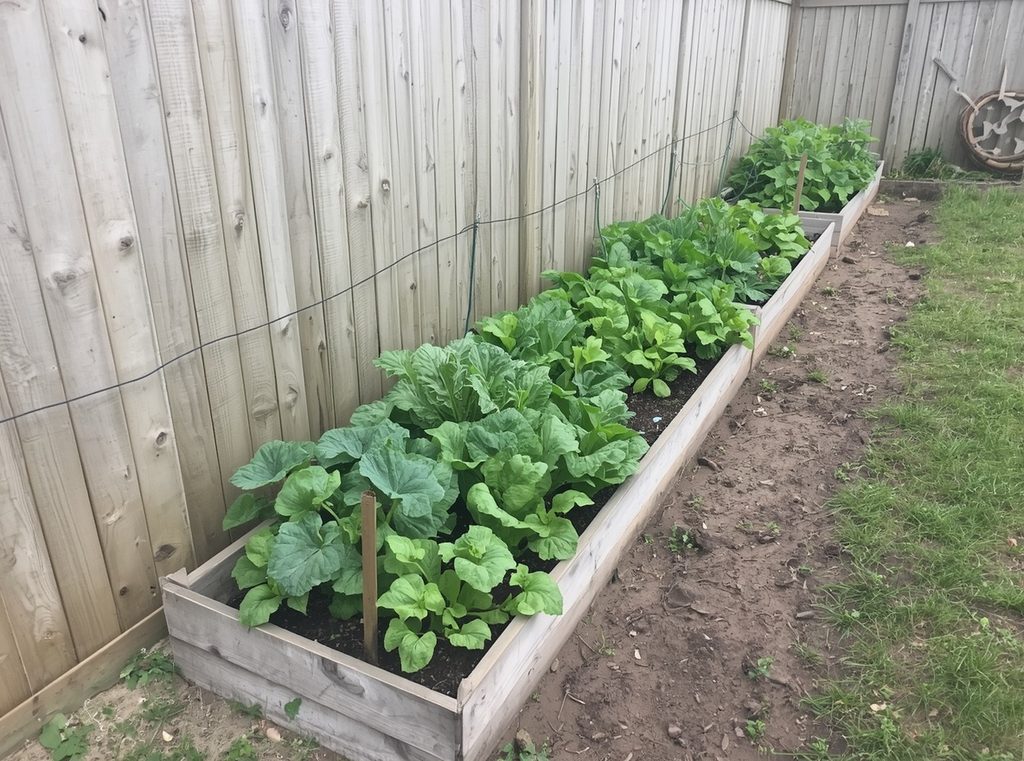
Four feet wide is usually a good maximum if you can access both sides. If the bed is against a fence or wall and you can only reach it from one side, keep it closer to two feet wide.
The whole point of a raised bed is being able to garden without stepping on the soil and compacting it.
Length is much more flexible
Unlike width, the length can be whatever works for your space.
Four feet, six feet and eight feet are all common because they are easy to build from standard lumber sizes, but there is no rule saying your bed has to fit one of those measurements.
For your first garden, I would rather build one manageable bed than several huge ones and discover halfway through summer that you accidentally created a part-time job.
Think carefully about height
A raised bed does not have to be especially tall to work well. Even six to twelve inches of improved soil can be enough in many yards, especially if the soil underneath is usable.
Taller beds are easier on your back and can look beautiful, but they require much more soil to fill. That can make them significantly more expensive than they first appear.
If bending or kneeling is difficult for you, the extra height may absolutely be worth it. Otherwise, a lower bed is often the simplest and most affordable place to start.
Choose materials that will last
Untreated cedar is one of the most popular raised bed materials because it naturally resists rot and ages nicely. The downside is that it can be expensive.
Untreated pine or fir is usually cheaper and works perfectly well, although it may need replacing sooner. Metal raised beds are another option and can last for years without much maintenance.
Whatever you choose, use materials that are appropriate around edible plants and avoid old wood if you do not know what it was treated with.
You may not need to remove the grass
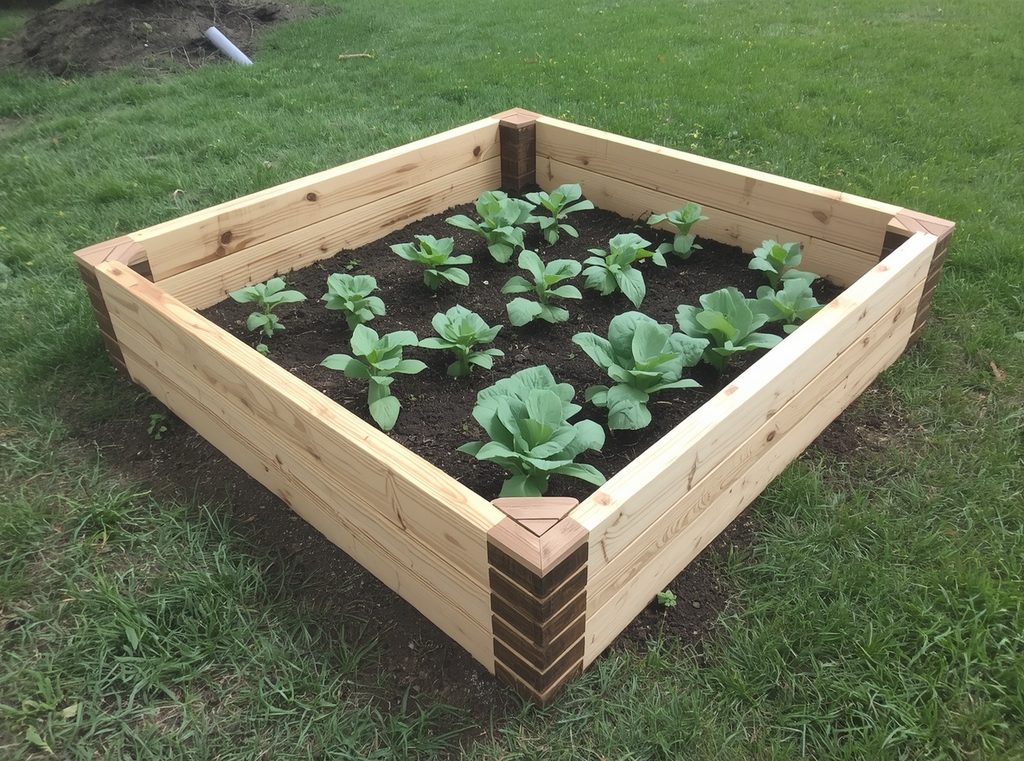
If you are placing a new bed directly over lawn, you do not necessarily need to dig out every piece of sod first.
For a deeper bed, you can lay plain cardboard over the grass, overlap the edges and then fill the bed with soil. The cardboard helps suppress the grass and eventually breaks down.
Avoid glossy or heavily printed cardboard, remove tape and labels and wet the cardboard before filling if it keeps trying to move around.
Do not line the bottom with plastic
Raised beds need drainage, so a solid plastic liner across the bottom is usually a bad idea.
If you are concerned about weeds, cardboard is a better temporary barrier because it decomposes. Hardware cloth can also be placed underneath if burrowing animals are a major problem in your area.
The soil should ultimately be able to connect with the ground underneath so water can drain and roots can grow downward.
Figure out how much soil you need before ordering it
Soil volume is one of those things that is easy to underestimate.
A four-by-eight-foot bed that is twelve inches deep needs about 32 cubic feet of soil. Make the same bed two feet tall and you suddenly need about 64 cubic feet.
Before building, calculate the volume of the bed and check how soil is sold where you live. For larger projects, bulk garden soil delivered by the cubic yard can be much cheaper than buying dozens of bags.
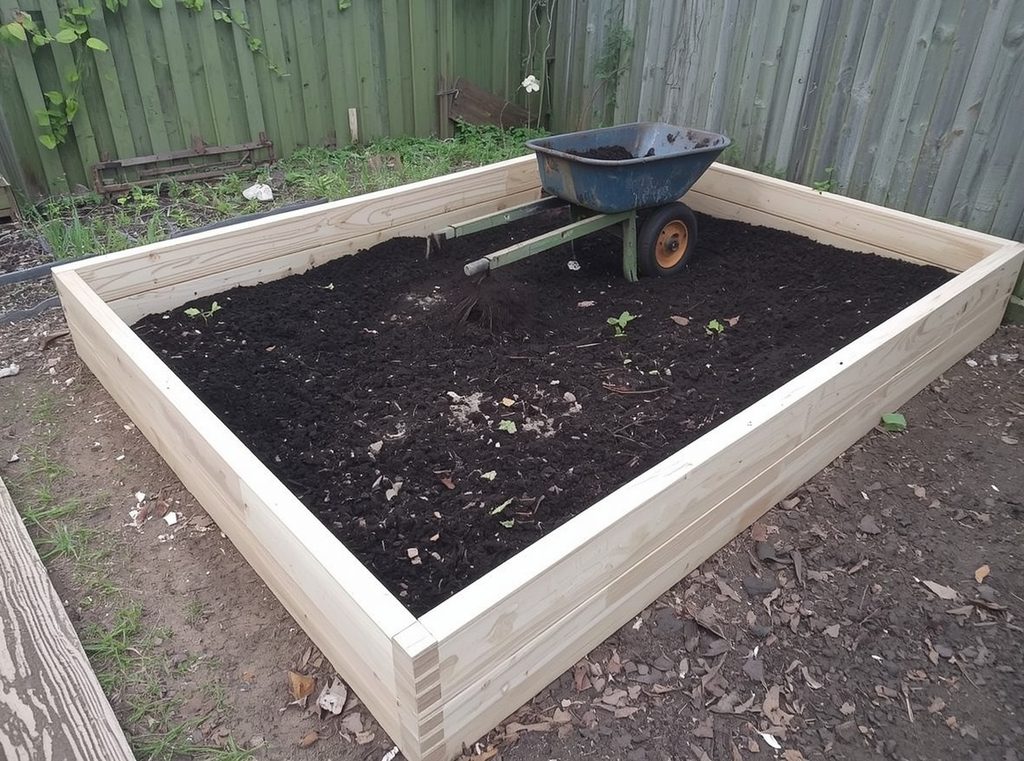
Use a good soil mix
Do not fill a raised bed entirely with regular topsoil. It can become heavy and compacted, especially after rain.
A good raised bed mix usually combines quality garden soil or topsoil with compost and another material that helps keep the soil loose and well-drained.
You do not need to obsess over a perfect formula. The main goal is soil that holds some moisture without turning into a dense block and has enough organic matter to support healthy plants.
Be careful with cheap filler
You will see plenty of advice suggesting that you fill the bottom half of a tall raised bed with logs, branches, leaves or other material to save money on soil.
There is nothing inherently wrong with using some organic material in a very deep bed, but remember that it will decompose and settle over time. That means the soil level can drop considerably and need topping up later.
If your bed is only twelve or eighteen inches deep, I would usually keep things simple and fill most of it with actual growing mix.
Leave enough room between beds
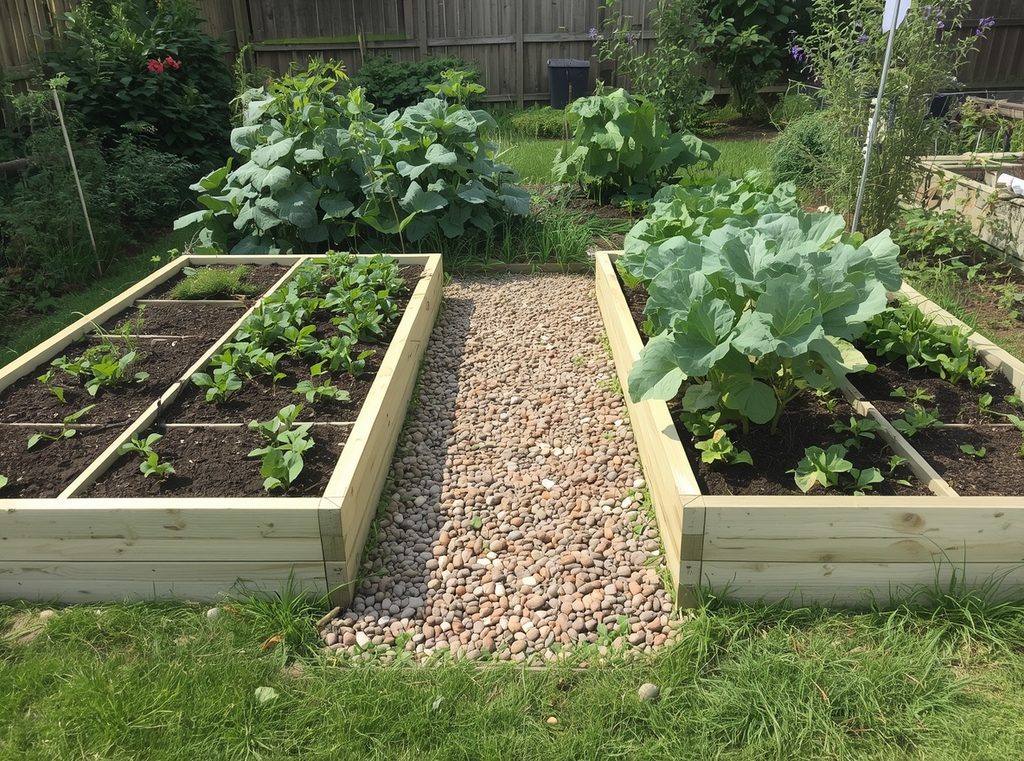
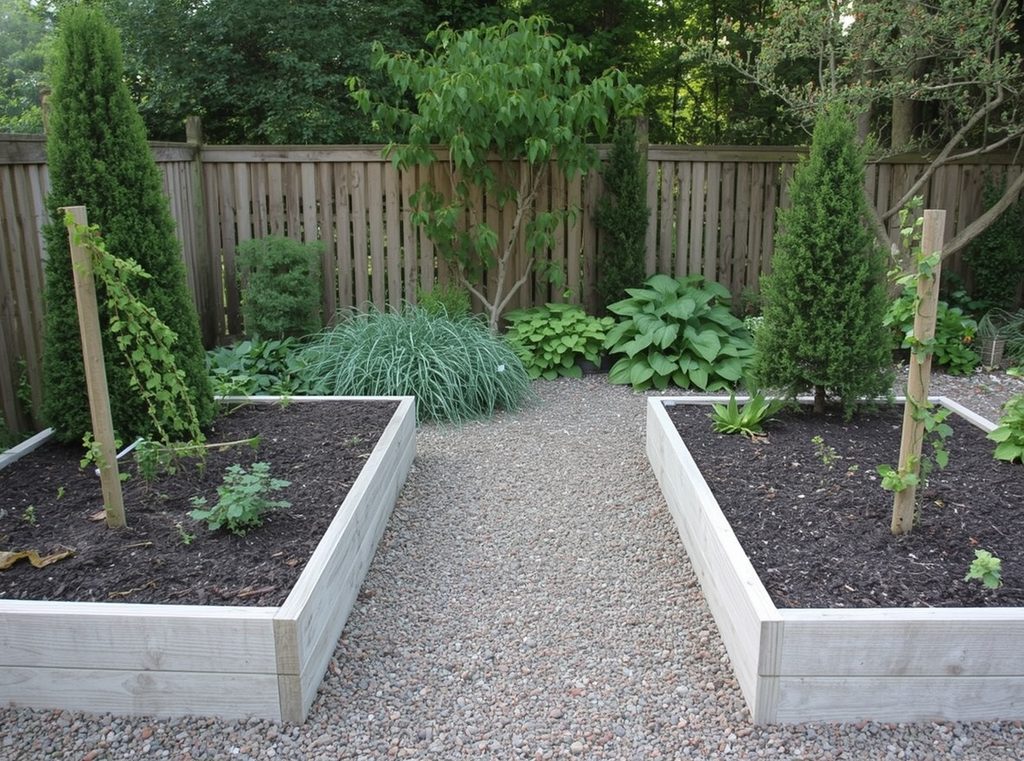
If you are building more than one bed, do not squeeze them too close together just to fit another row.
You need enough space to walk comfortably, carry a watering can and ideally move a wheelbarrow through. Around three feet between beds is comfortable for most gardens, although smaller spaces can work with slightly less.
Think about what the garden will feel like once plants are spilling over the edges, not just what it looks like when the beds are empty.
Plan your watering before planting
Raised beds can dry out faster than the surrounding ground, especially if they are in full sun.
If the garden is close to the house and you enjoy watering by hand, that may be completely fine. For several beds, a soaker hose or drip irrigation system on a timer can make maintenance much easier.
At the very least, make sure your hose actually reaches before you fill the bed and plant everything. It sounds obvious until you are carrying watering cans across the yard twice a day in July.
Start with vegetables that actually fit
It is surprisingly easy to cram too many plants into a raised bed because everything looks tiny when you first plant it.
Lettuce, radishes, herbs, carrots, bush beans and compact pepper plants are all easy places to begin. Tomatoes can work beautifully too, but they need more room and support than their little garden-centre pots suggest.
Check the mature spacing for whatever you are planting and give everything enough airflow. More plants do not always mean more food if they are fighting each other for light and nutrients.
Use the vertical space too
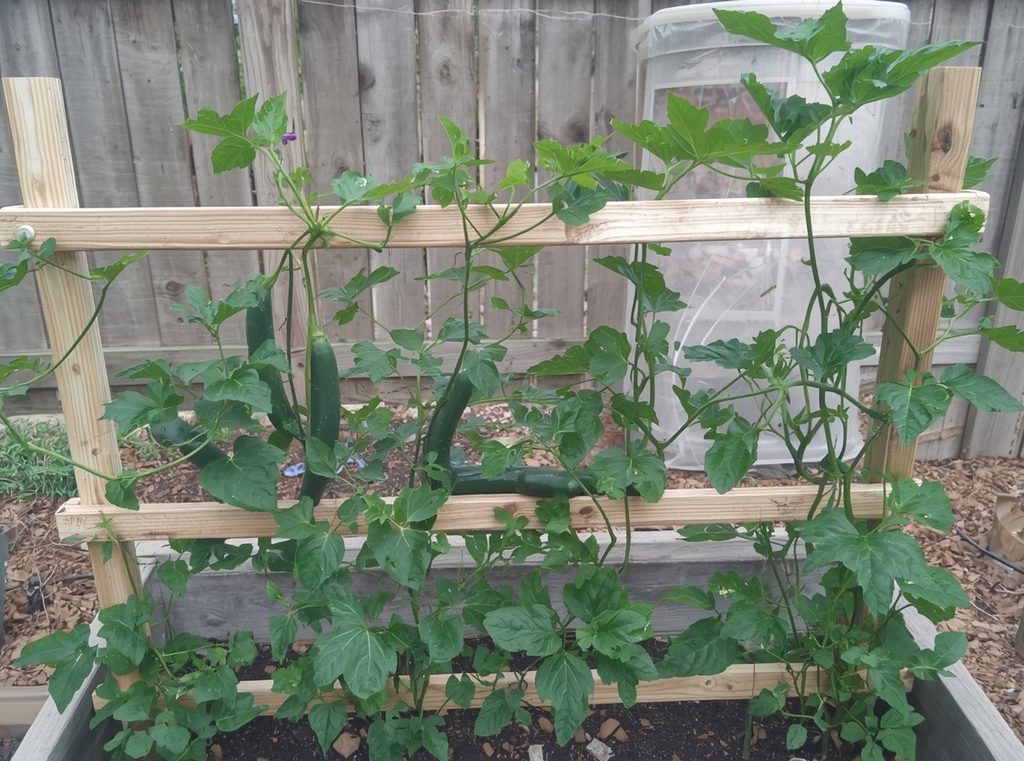
A trellis can dramatically increase what you can grow in a small raised bed.
Peas, pole beans, cucumbers and some smaller squash varieties can grow upward instead of sprawling across the entire bed. Place the trellis where it will not shade shorter plants unnecessarily, usually along the north side of the bed in the Northern Hemisphere.
Mix flowers and herbs with vegetables
A raised bed does not have to be arranged like a tiny farm.
Tuck herbs, nasturtiums, calendula, marigolds or other flowers between your vegetables. They add colour, attract pollinators and make the whole bed feel much more like part of the garden.
Just keep aggressive spreaders like mint in their own containers unless you want to spend future summers removing mint from everything else.
Add mulch once the plants are established
A thin layer of mulch around your plants can help the soil hold moisture and reduce weeds.
Straw, shredded leaves or another garden-safe organic mulch works well in vegetable beds. Keep it slightly away from the stems of young plants and add more as needed through the season.
Mulch becomes especially useful during hot weather when raised beds can dry out quickly.
Expect the soil level to drop
Even if you fill your raised bed right to the top, the soil will settle over the first season.
That is completely normal. Compost and other organic material break down and the whole mix becomes more compact over time.
Add compost or fresh growing mix each spring to bring the level back up and replace some of the nutrients your plants used the previous year.
You do not need six beds to start
There is something about planning a garden that makes it very easy to go from “maybe I will grow some tomatoes” to designing a full backyard homestead by dinner.
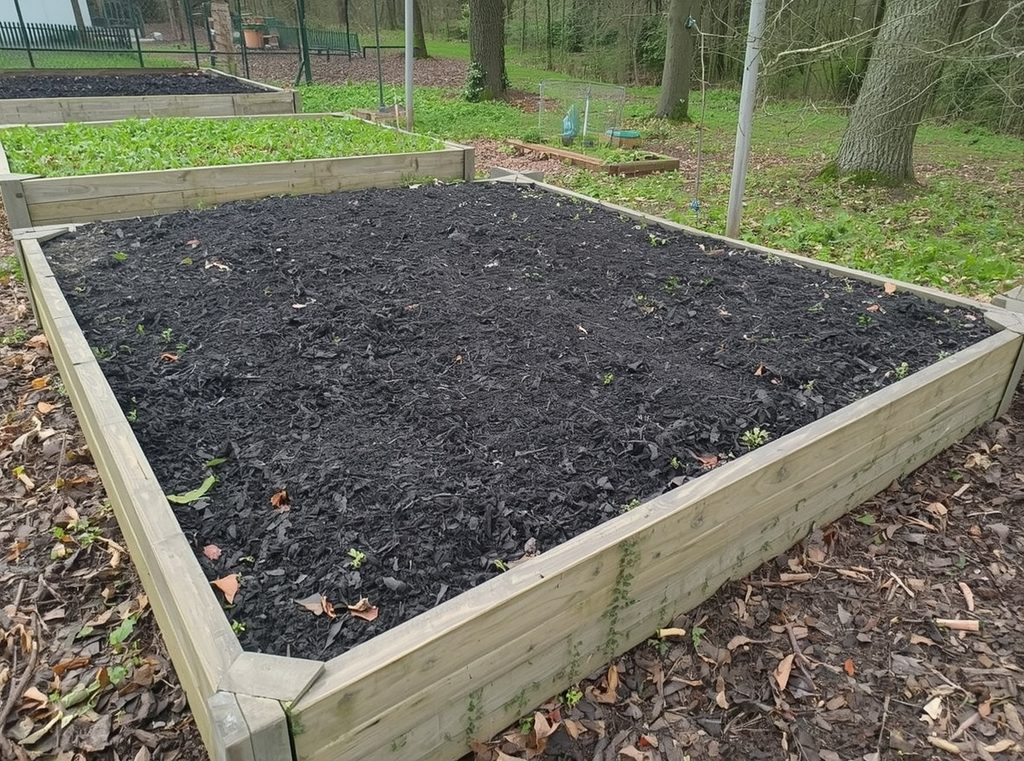
Start with one bed.
You will learn how quickly it dries out, what grows well in your yard, how much produce you actually use and whether you enjoy maintaining it. You can always add another bed next year.
A good first raised bed setup
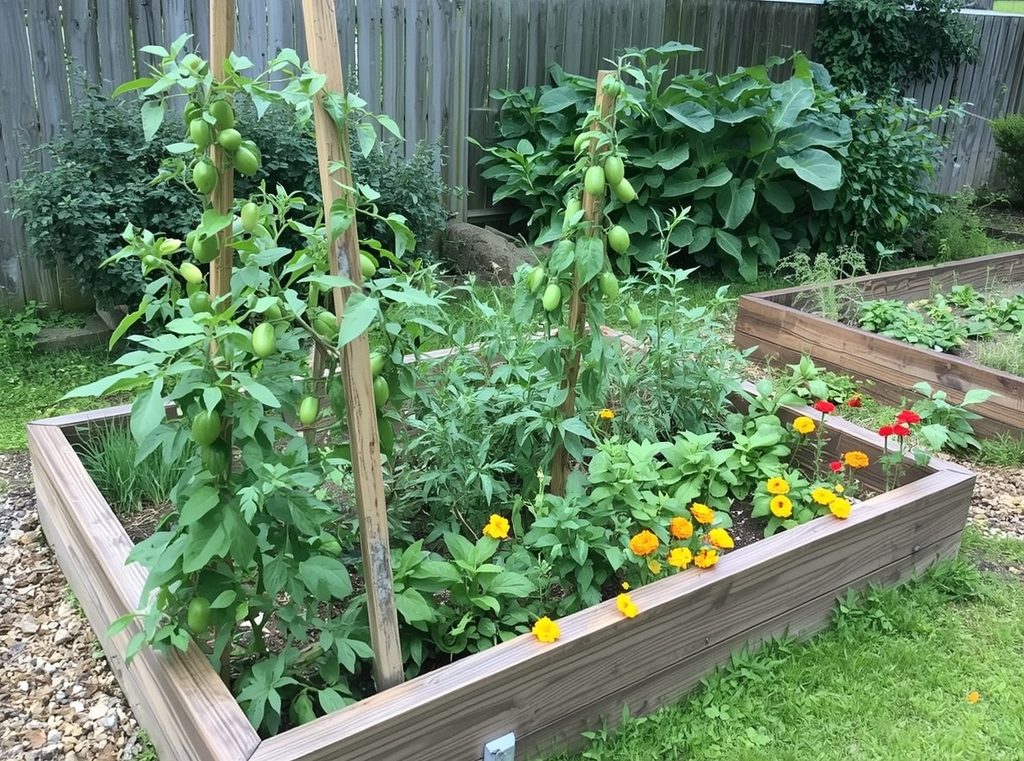
If I were building a first raised bed for a beginner, I would keep it around four feet wide by six or eight feet long and roughly twelve to eighteen inches deep. I would put it somewhere with good sun, easy access to water and enough room to walk around at least three sides.
I would fill it with a quality soil and compost mix, add a simple trellis along one end and grow a small combination of vegetables rather than trying to fit everything into the first season. A tomato or two, lettuce, herbs, bush beans and a few flowers would be more than enough to learn with.
Build for the garden you will actually maintain
Raised beds can make gardening easier, but bigger is not automatically better.
The easiest setup is usually one that is close enough to the house to notice, small enough to reach comfortably and filled with plants you genuinely want to eat or look at.
Get the location and dimensions right before you build, invest in decent soil and start smaller than your most ambitious Pinterest board suggests.
You can always build another one later. And if your first tomato tastes better because you grew it yourself, there is a pretty good chance you will.